- Equipment Reviews
- Advice, hints, tips
- Crusader Cup and Cooker
- Hammocks
- Packing
- Food
- Europe by Train
- How to use a Backpack
- Destinations
If you find my site useful feel free to show your appreciation and buy me a cup of tea:
Hammocks

Introduction
One of the lightest and also most comfortable shelters that can be used when out hiking is the hammock. Now whilst its quite well known and used amoungst some of the keener hikers, it seems much lesser known to the meer mortals. Also alot of people seem to think you need the rather expensive hammocks which provide the whole lot all in one. This page here is to give you a brief intro into how I do it, and places where you can get the kit for this for a fraction of the cost of some setups.
The Kit
The basic kit needed for a night out under a hammock is quite simple, at a minium you will need:
- A hammock (duh!)
- A Tarp
- Some string
- Sleeping bag
The Hammock
The exact choice of each individual component varies from person to person. For years I have used a simple mesh hammock that I got from a shop in Ipswich, it is made from a green net like material by a "Gerber". Various other companies make similiar models, BCB being a notable other example. Googling "BCB Mini Hammock" should get you plenty of place to get one. They retail for anything from 8 to 15 quid depending where you get them. I bought the last lot from Strike Force Supplies but they are available from most decent outdoor and surplus shops. This all said, I have recently bought a silk hammock from Katmandu in Utrecht, but have yet to have a play with it. Will update as and when I do.
The Tarp
Like the hammock the choices here are endless. I use a germany army poncho. This is nice and light, has all the fixing points I need, is a nice and inconspicuous colour, but mostly, it was cheap. I have also used a basic 4"x6" groundsheet which worked just as well, but was considerably heavier. Many people use army issue "Basha's", these are basically a lightweight camo tarp, usually rectangular in shape, with a number of loops on the edges and corners to suspend it. Any othese will work. The choice is yours.
String
Another great item of personal choice. Many people use bungies which they perminantly attach to their basha's. Personally I find these to much of a pain in the arse, so opt for the good ole faithful: paracord. I buy this by the 100m roll, and cut a length for each of the four corners, plus a longer length for the ridge. These I tie to the poncho and roll up round it when packed. Each unto their own.
Sleeping bag
In warmer climes you can get away with no sleeping bag, or with just a poncho liner or blanket. But, in the climate of the UK, typically you will need some sort of sleeping bag. I use a Snugpak Special forces system sleeping bag, I wont go into detail here, more info can be found over at my Equipment page.
Setting it all up

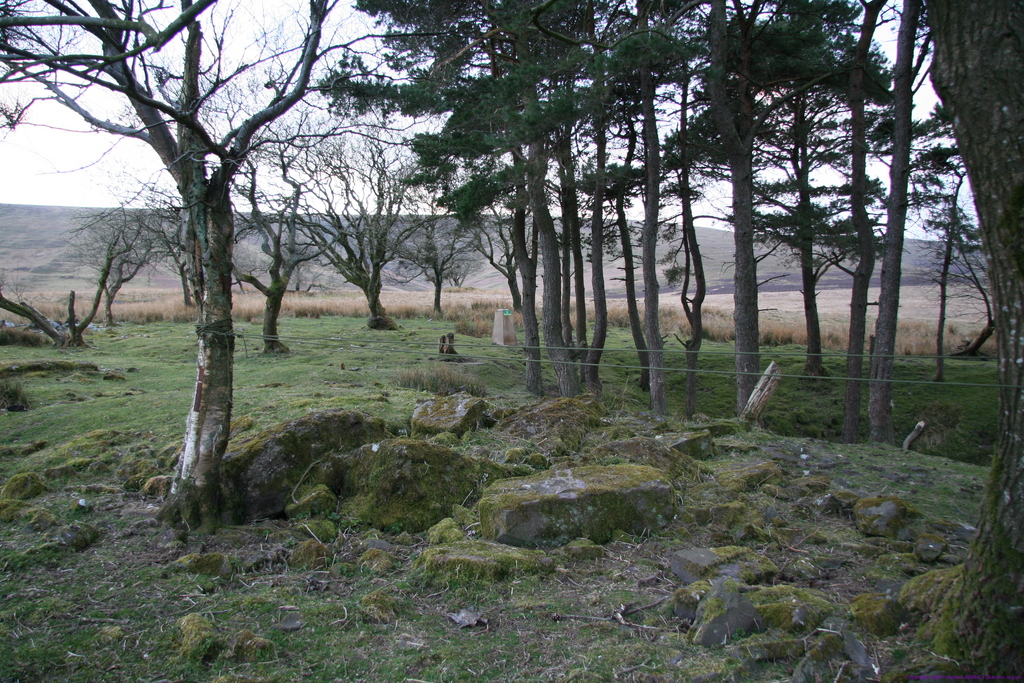
Start off with two trees. Ideally you want something about 10-14ft apart, depending on the length of your guy lines. If you went with the bungies option, it will narrow your choice of trees. Ideally you want the ground beneath the trees to be free from any major obstacles, you don't want a knot to fail in the night and land you painfuly on a rock. The site in this pic is not ideal, but these pics were taken only for this page.
Having chosen your two trees, next you need to put in your ridge line. Some people just connect a guy line to a loop in the middle of each end of their basha. I prefer to put a loop of rope round both tree's. This provides me with the ridge support for the tarp, and a second line to use to hang things like glasses, torch, mossi net, etc...

Next stick your hammock up. If it is raining, you may want to put the tarp up first, in which case, swap this step and the following step. Simply tie the tarp betwen the two trees like you did with the ridge line. You want your tarp to be fairly tight, as it will lower abit when you get in. The knot used for this is entirely upto you, being a caver I tend to beleive that the bowline or the double figure of eight knot are the only knots to use for everything. So I tend to use one of these, but I am sure many others would recommend something different. So, now you should have two ropes going horizontal, and a hammock hanging underneath. Now for the final step.
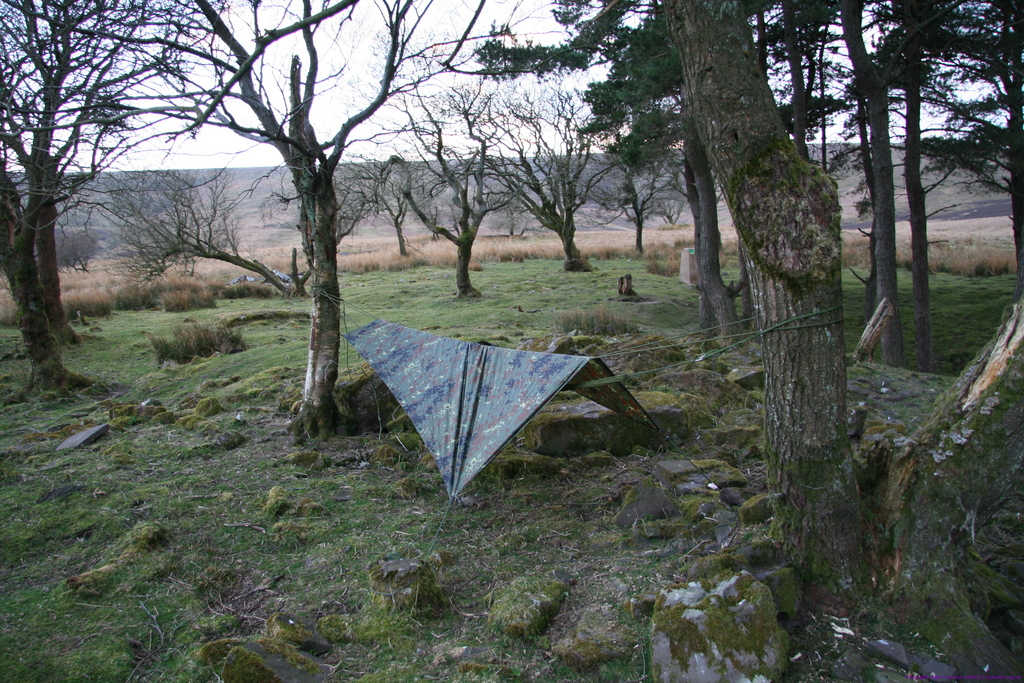
Now spread your tarp over the ridge rope and peg it out. Ideally you want the tarp to be evenly half either side of the ridge, and to cover the full length of the hammock. At a minium, you will want to peg out the our corners. I don't tend to carry pegs as they are two heavy. Instead I go for what ever local materials I can find, twigs, rocks, etc... tho it depends whats available. You should now have something resembling the above pic. Each location is different, so you will have to learn to adapt. I would recommend going out to a local woodland, or the local park and having a play on various tree's until you are confident you can put the kit up in the dark, and the rain.
Taking the rig down is simply the reverse of putting it up. You can click on the above pics to get a bigger version.
Variations
The number of ways of rigging up a hammock vary as widely as the people who use them. Some varients worth trying:
- Mossi Net - For when the little b******s are bighting.
- Hennessyhammock - Hammock, mossi net, and tarp all combined in one. Not tried myself yet, and seems quite expensive, but looks comfy.
- Your idea here. Email me your variations.
Further photos
Further Photos
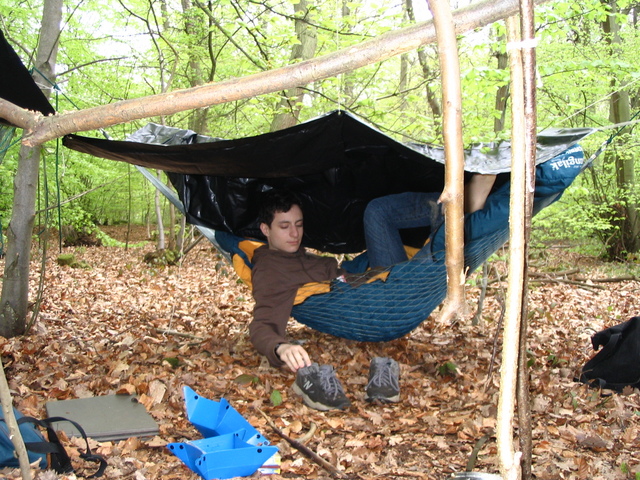
A picture of my friend Rince getting out of his hammock in the morning. This pic shows nicely the basic setup. Hammock underneath, Tarp over the top. The forground is the aframe and ridge poll of the previous nights cooking stand.

A bigger picture of our hammock encampment, we had four hammocks set up in a square with a fire in the middle. Note the minor kit grenade in camp. This is not quite your typical hammock+tarp setup, but shows a more social one for groups.
About this Document
This page last modified Saturday, 11-Sep-2010 22:39:22 CEST.